Through the courtesy of my friend and fellow brewer, Ted, I now have a "Big Dog" brewery!

This is Ted and I standing in front of the new brewery. Ted constructed the system a few years back, but is ending his brewing career so he has passed it along to me.
I met Ted during my short stint in Lima, OH. He, Major (now Lt. Colonel) Danner, and I restarted an old brewing club up there called "The Hawg Creek Brewer's". I already had experience as I was one of the founding members of CMI: Cincinnati Malt Infuser's. But enough of the back ground let's get to the brewing!
As you can see it is a three tiered system, fabbed up with old, discarded, yet modified, 1/2 barrel kegs. The top keg is the hot liquor (water) tank, the middle one is the Mashton/Lauterton, and the final one is the brew kettle. It's actually just as easy to operate as my single batch system, but I can get a double batch (12 gal) out of it for the same effort.
Here's the basic process:
Hot Water - You fill the hot liquor tank with water (please use a food grade hose, or you'll end up with "garden hose" beer)
Don't ask how, I just know! Then you crank up the propane and get it up to temperature (around 170-180F to start).
 Grist
Grist - Next you grind the "Grist". This is actually a process of cracking the grains (barley malt). For this system it takes about 20lbs of grain per batch. In this case we're making a Swartzbier, a German style black lager. The grains don't look that dark do they, well it only takes about 1 lb of black malt to get the results we want.
 Mash
Mash - Once the water gets to temperature you start adding it to the mashton, until you cover the false bottom (sorry no photo at this time), with about a gallon or two. Then you start adding the grist. Once all the grist is in the mashton, you add more hot water to it to just cover the grains. Checking temperature to make sure you're at mash temperature. For this batch we wanted to get to 150F. We'll allow it to sit at that temperature for about 1hr and then we'll check to make sure the starches converted to sugar!
 Sparge
 - Once the mash is completed you sparge(rinse) the grains to remove all of the sugar water, which you catch in the brew kettle.
The sparging arm looks a little like a miniature irrigation system doesn't it! The Boil
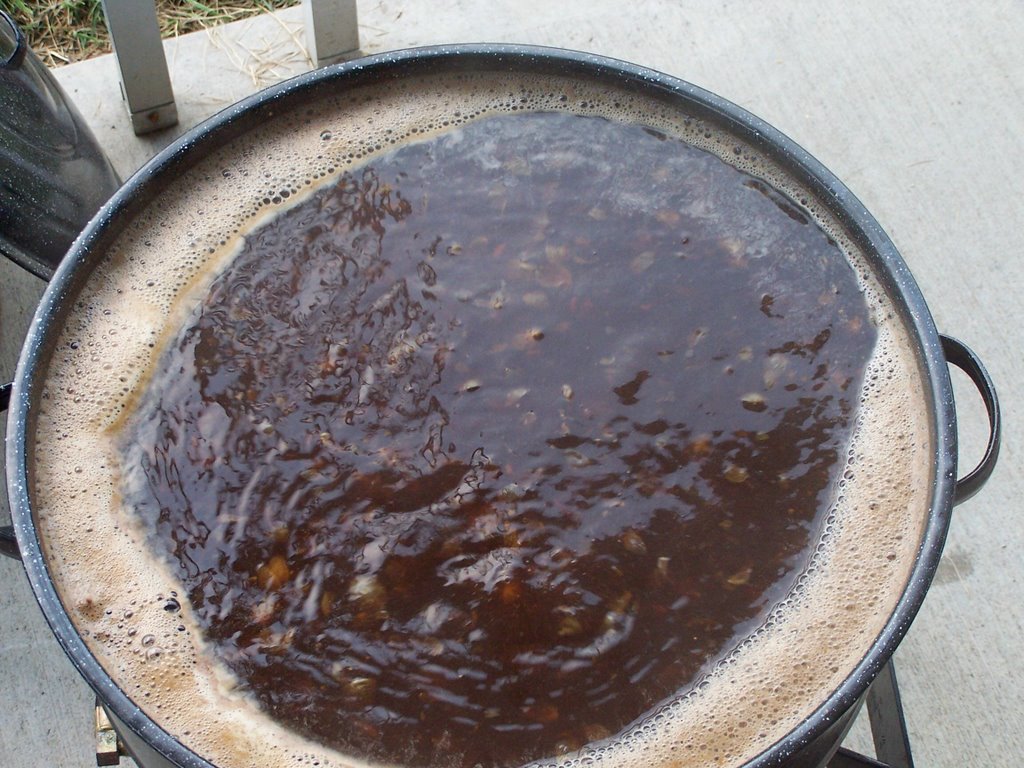
 - Once you've collected all the malt sugars, you bring the wort (hot sugar water) to a boil. Then you can add the hops.
I chose some classic German varieties (Hallertaur and Tettnang) to give it a true Swartzbier flavor.A typical boil goes for about an hour. This not only extracts the flavors from the hops, but also serves to boil off some unpleasant volatiles and denatures some of the proteins, which will settle out in the trube (sediment). This is a photo of Ted's batch during the boil, it was already dark by the time we were boiling the big batch.
 Chilling
- After the boil you chill the wort, either with an immersion or reverse flow chiller (sorry no photo,
possibly due to beer consumption while brewing). Ted has an immersion and I have a reverse flow chiller. They both have advantages and disadvantages which might be the topic of a future post.
This of course is a photo of Lightnin and our friend Scott displaying a different type of chilling!
It's also important to note that this all took place on Lightnin's birthday(Friday July 28th)! What a wonderful wife I have to suggest that we brew a big batch in honor of her birthday! I'm telling you she's one of a kind, and I don't know what I'd do without her! Of course she informed me that the rest of the weekend should be considered "All about Lightnin Weekend", to which I humbly obliged.

Back to the brewing lesson:
Pitch the Yeast - Once the wort has cooled, to between 70-80F, you can add your yeast. I used a tube of liquid German Pilsner style lager yeast.
The photo shows the beer in an actively fermenting primary. In about a week I'll transfer it to the secondary (another clean glass fermentor) and then slap it into the lagering fridge to sit at cold temperature for about 4 to 8 weeks. This is the lagering process. It allows the beer to slowly ferment at a cold temperature to allow for a smooth, dry quality to the brew. It also allows more of the fine sediment to settle out for a more clear appearance.
Kegging - Once the beer has completed lagering it will be transferred into two 5gal soda pop pre-mix canisters (again no photos at this time, but maybe when I go to keg it!) to be carbonated and then served.

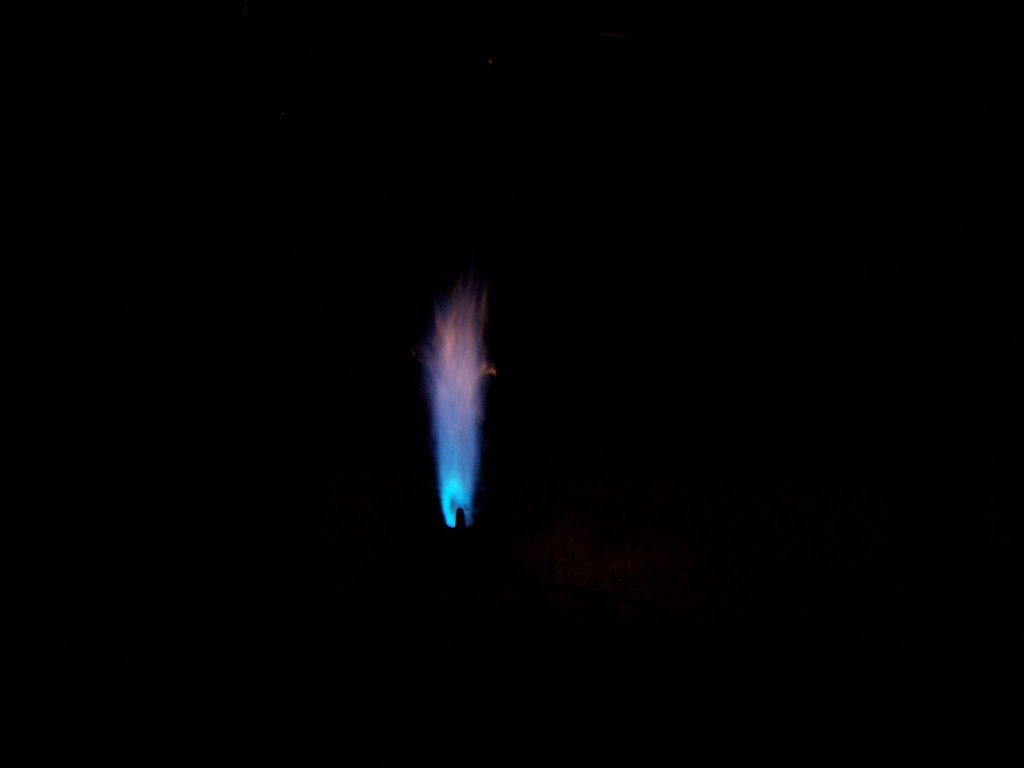
Since Ted was sort of coaching me as we went along, the brewing lasted a bit longer than normal (10hrs, from 2:00PM -12midnight). So of course we had to show off the power of my jet cooker to the crowd of brewing fans that were present!!!
(Ok, I tried to pass it off as a large birthday candle, but Lightnin didn't go for it!)Believe it or not the flame is actually shooting over 6ft into the air. The camera man was staying back at a safe distance!
I hope you enjoyed the brewing lesson. I'll try to get some additonal photos as I complete the rest of the process.
If you're interested in learning more about brewing, I'd be happy to share my knowledge and experience. I can also suggest several books that could help to get you started.